From license to active site
Ten minutes, seven steps, one question at a time. Here's each one.
The interface in motion
A few minutes to see the plugin actually working.
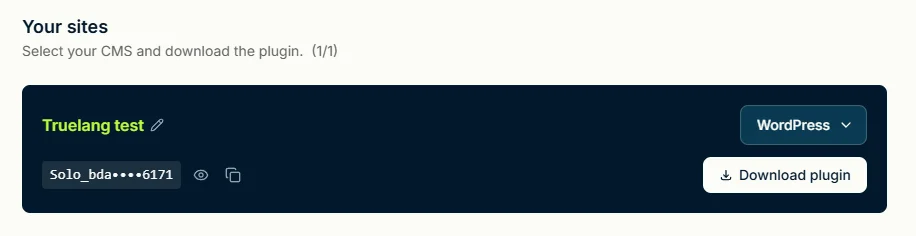
Get your license on truelang.io
Your key appears in your dashboard right after purchase, with the plugin download button.
Install the plugin on WordPress
A regular plugin installation: you upload the zip, you activate, that's it.
A TrueLang menu appears in your administration sidebar. As long as the assistant isn't complete, this menu only contains it: impossible to get lost.
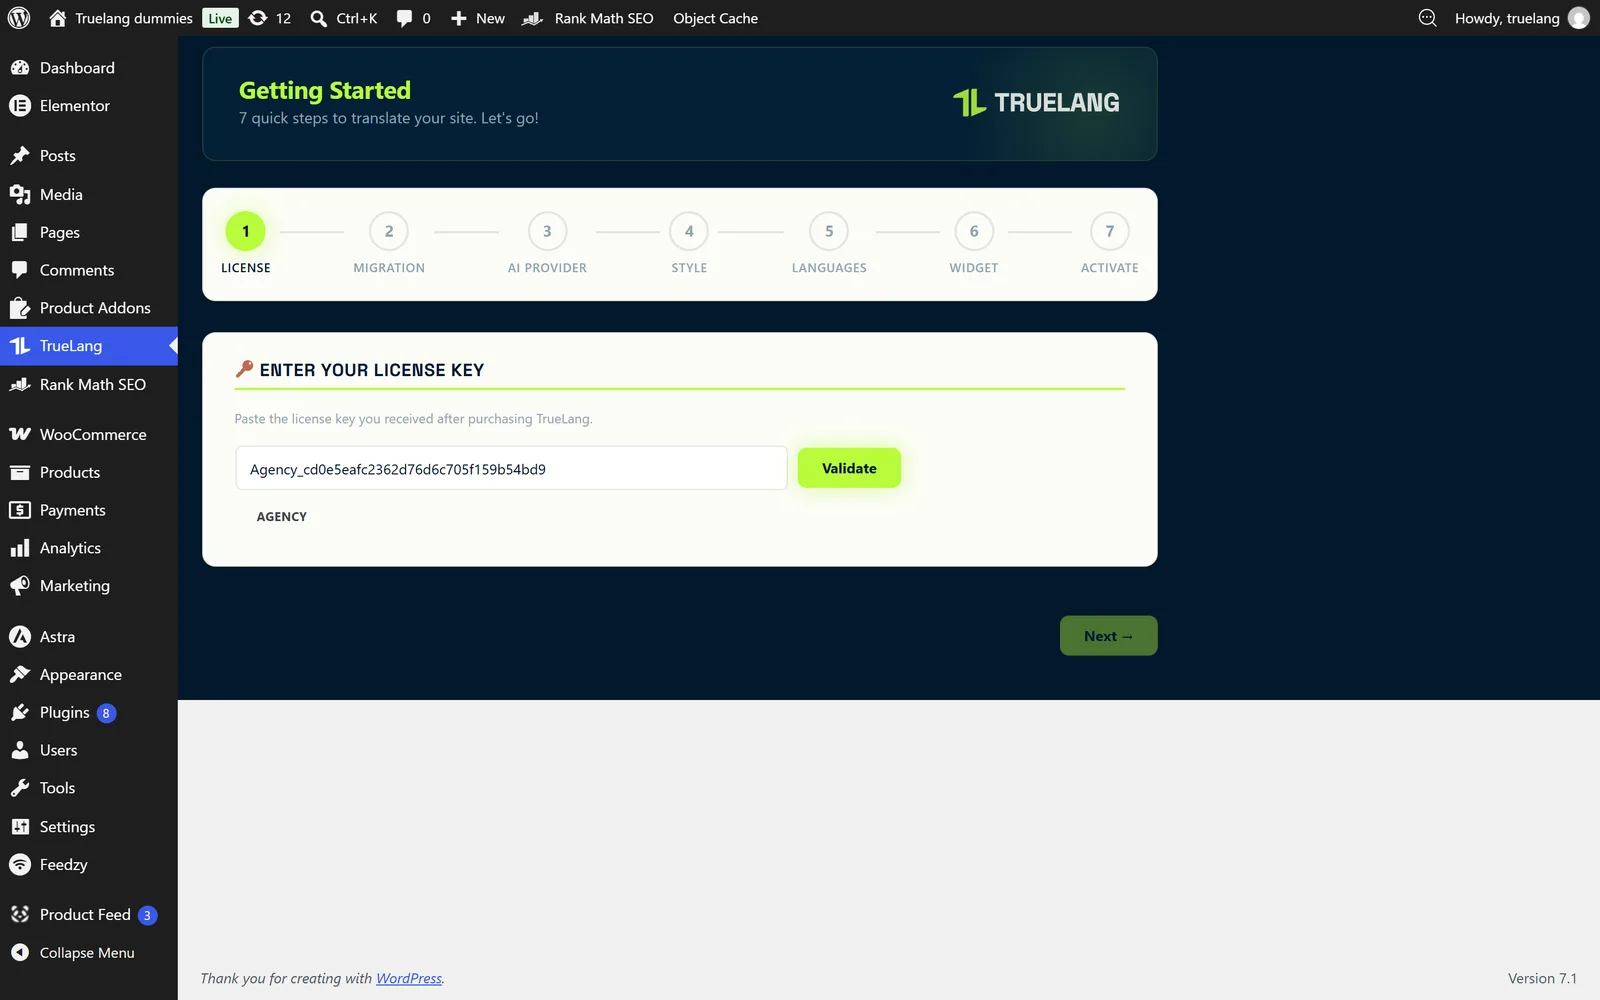
Step 1: your license key
You paste the key, you validate, and your plan displays immediately below the field. The steps indicator at the top guides you to the end.
No step unlocks until the previous one is complete.
Step 2: did you already have translations?
TrueLang asks if your site has already been translated by Weglot, GTranslate, TranslatePress, Polylang, WPML or another tool.
If you say no, the step is done. If you say yes, it asks about the format of your old URLs: you paste a translated URL and click Detect, or you choose the format yourself, subdirectory (mysite.com/en/) or URL parameter (mysite.com/?lang=en).
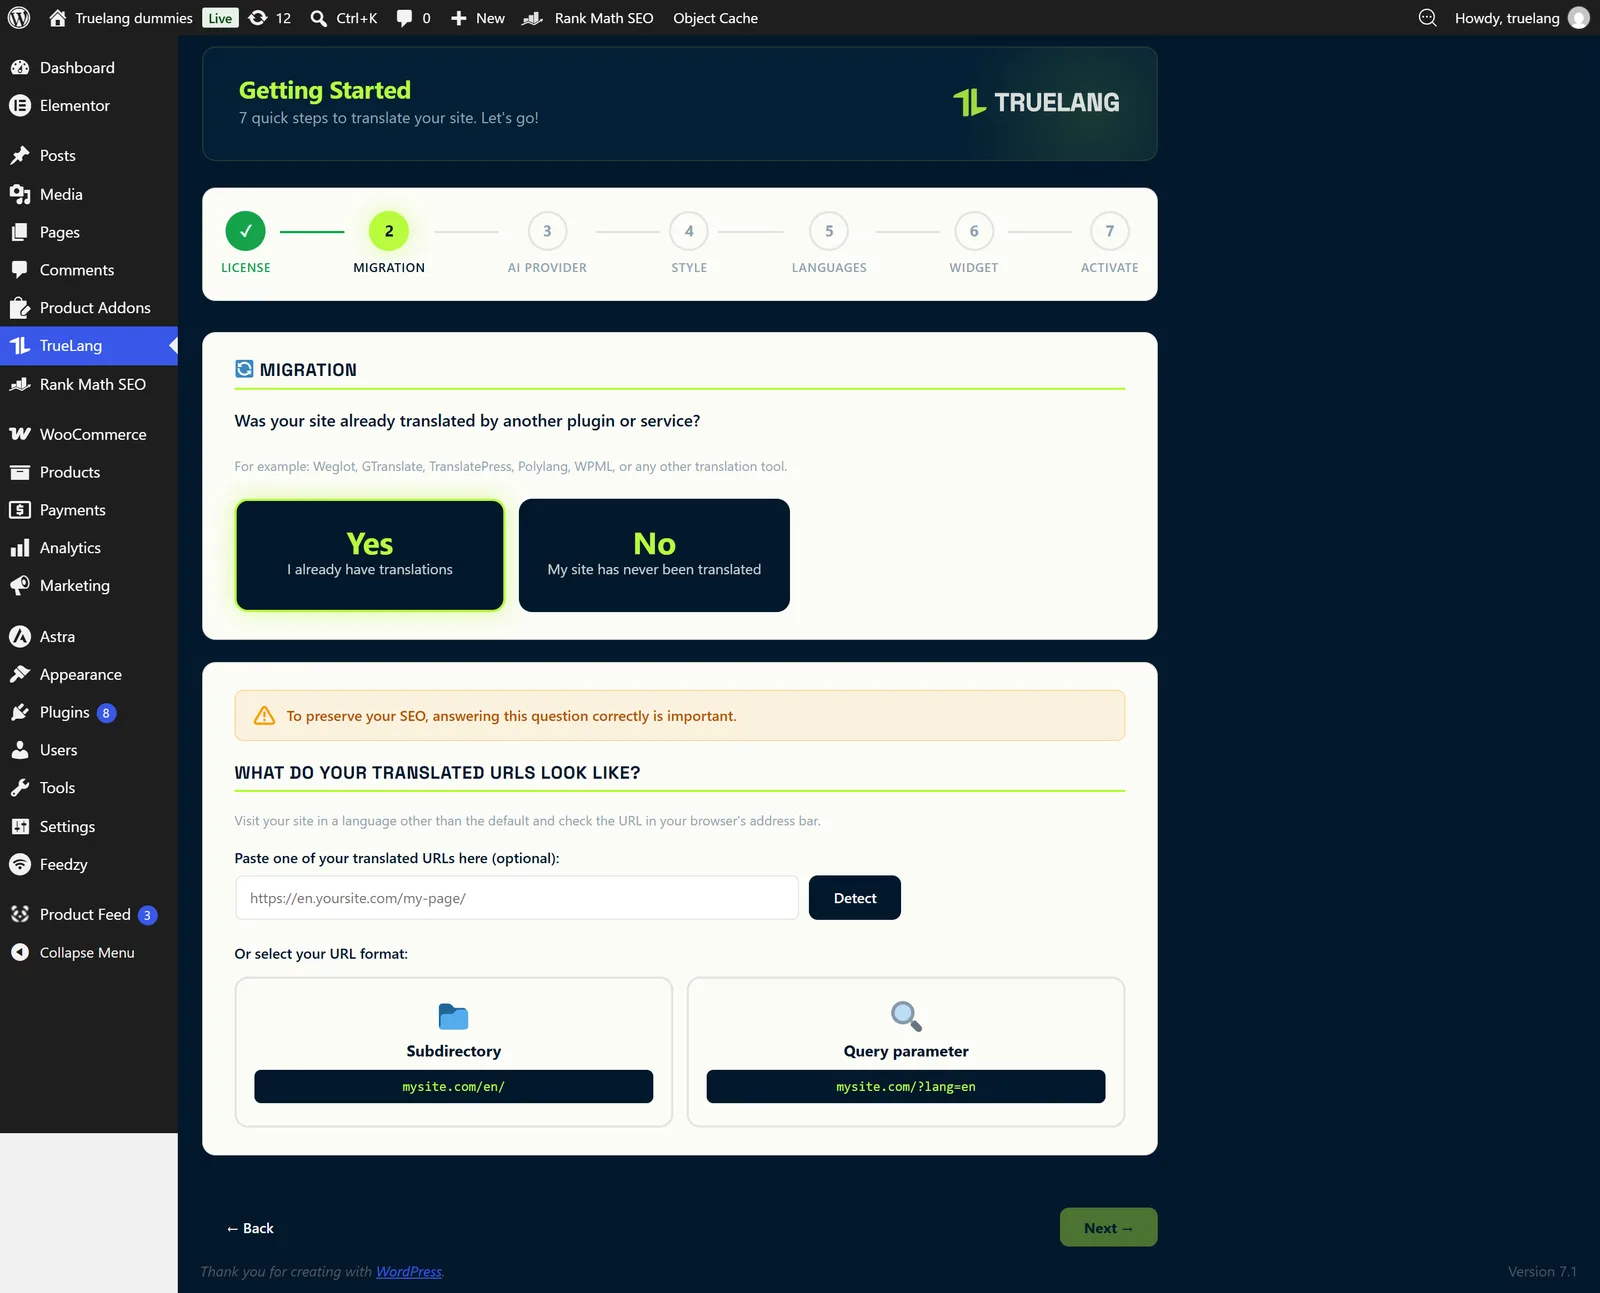
Your old URLs are then redirected to the new ones. Your SEO follows.
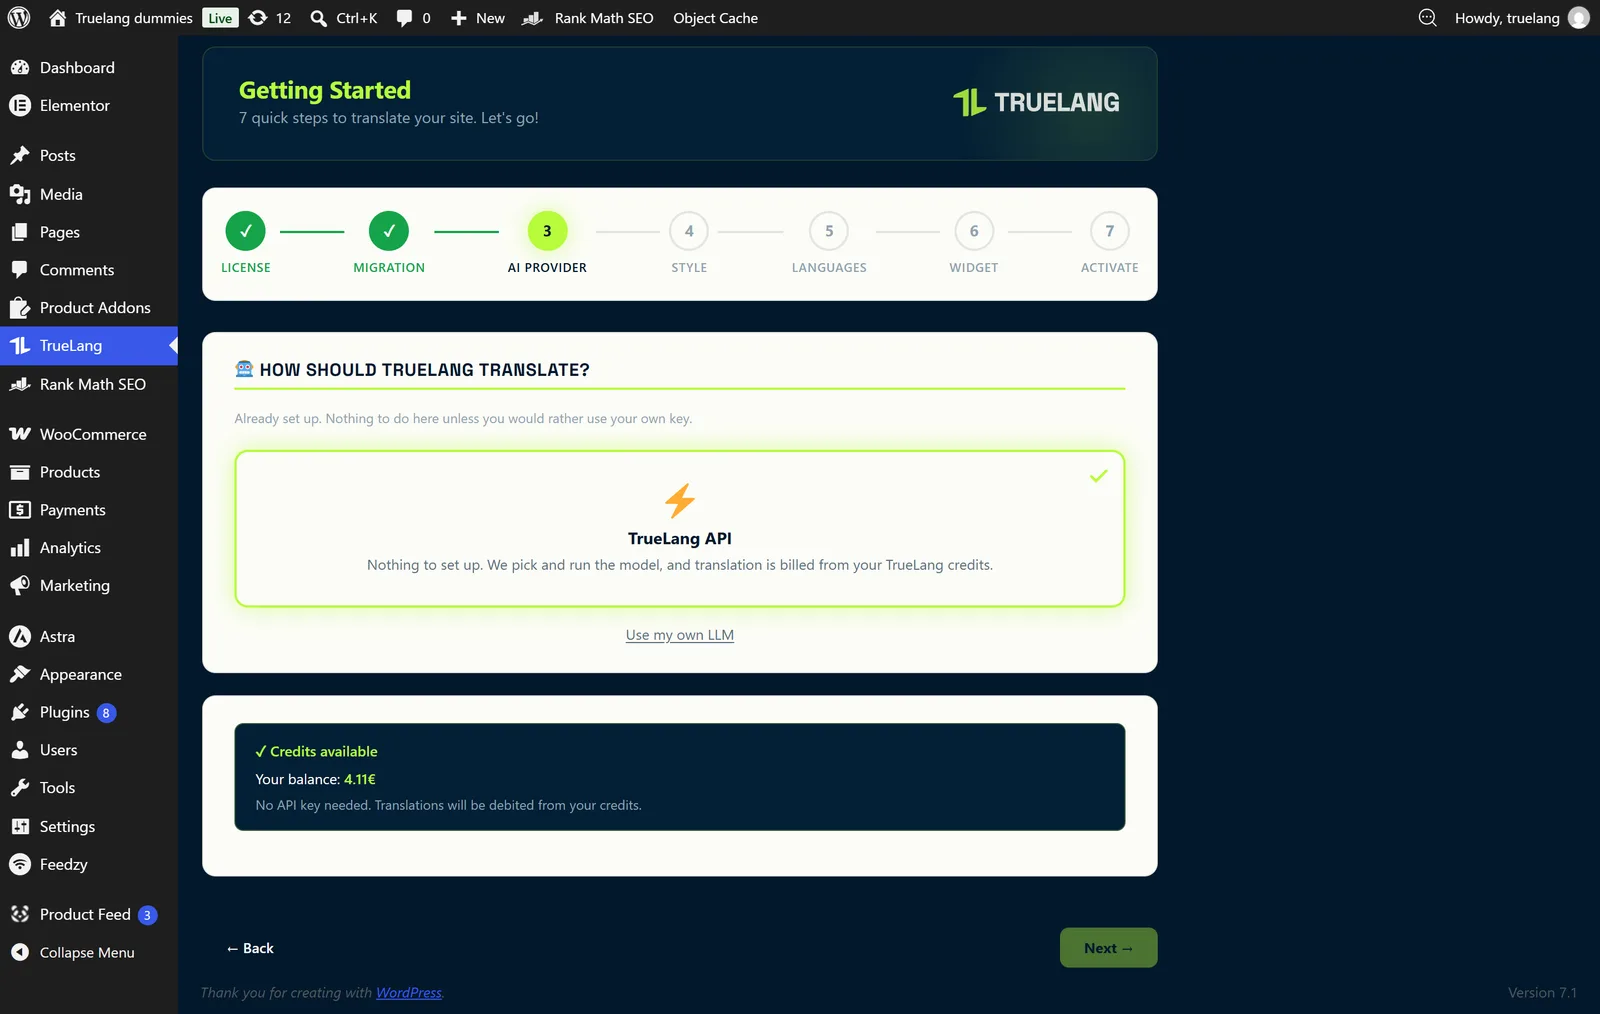
Step 3: who translates?
By default, there's nothing to configure: the TrueLang API handles everything and translation is charged to your credits. Your balance displays right in the assistant.
If you prefer to control your bill, a link lets you connect your own key.
Use your own AI key
Four providers to choose from: Claude, OpenAI, Google Gemini, and Mistral AI. Each card shows its approximate cost per thousand words.
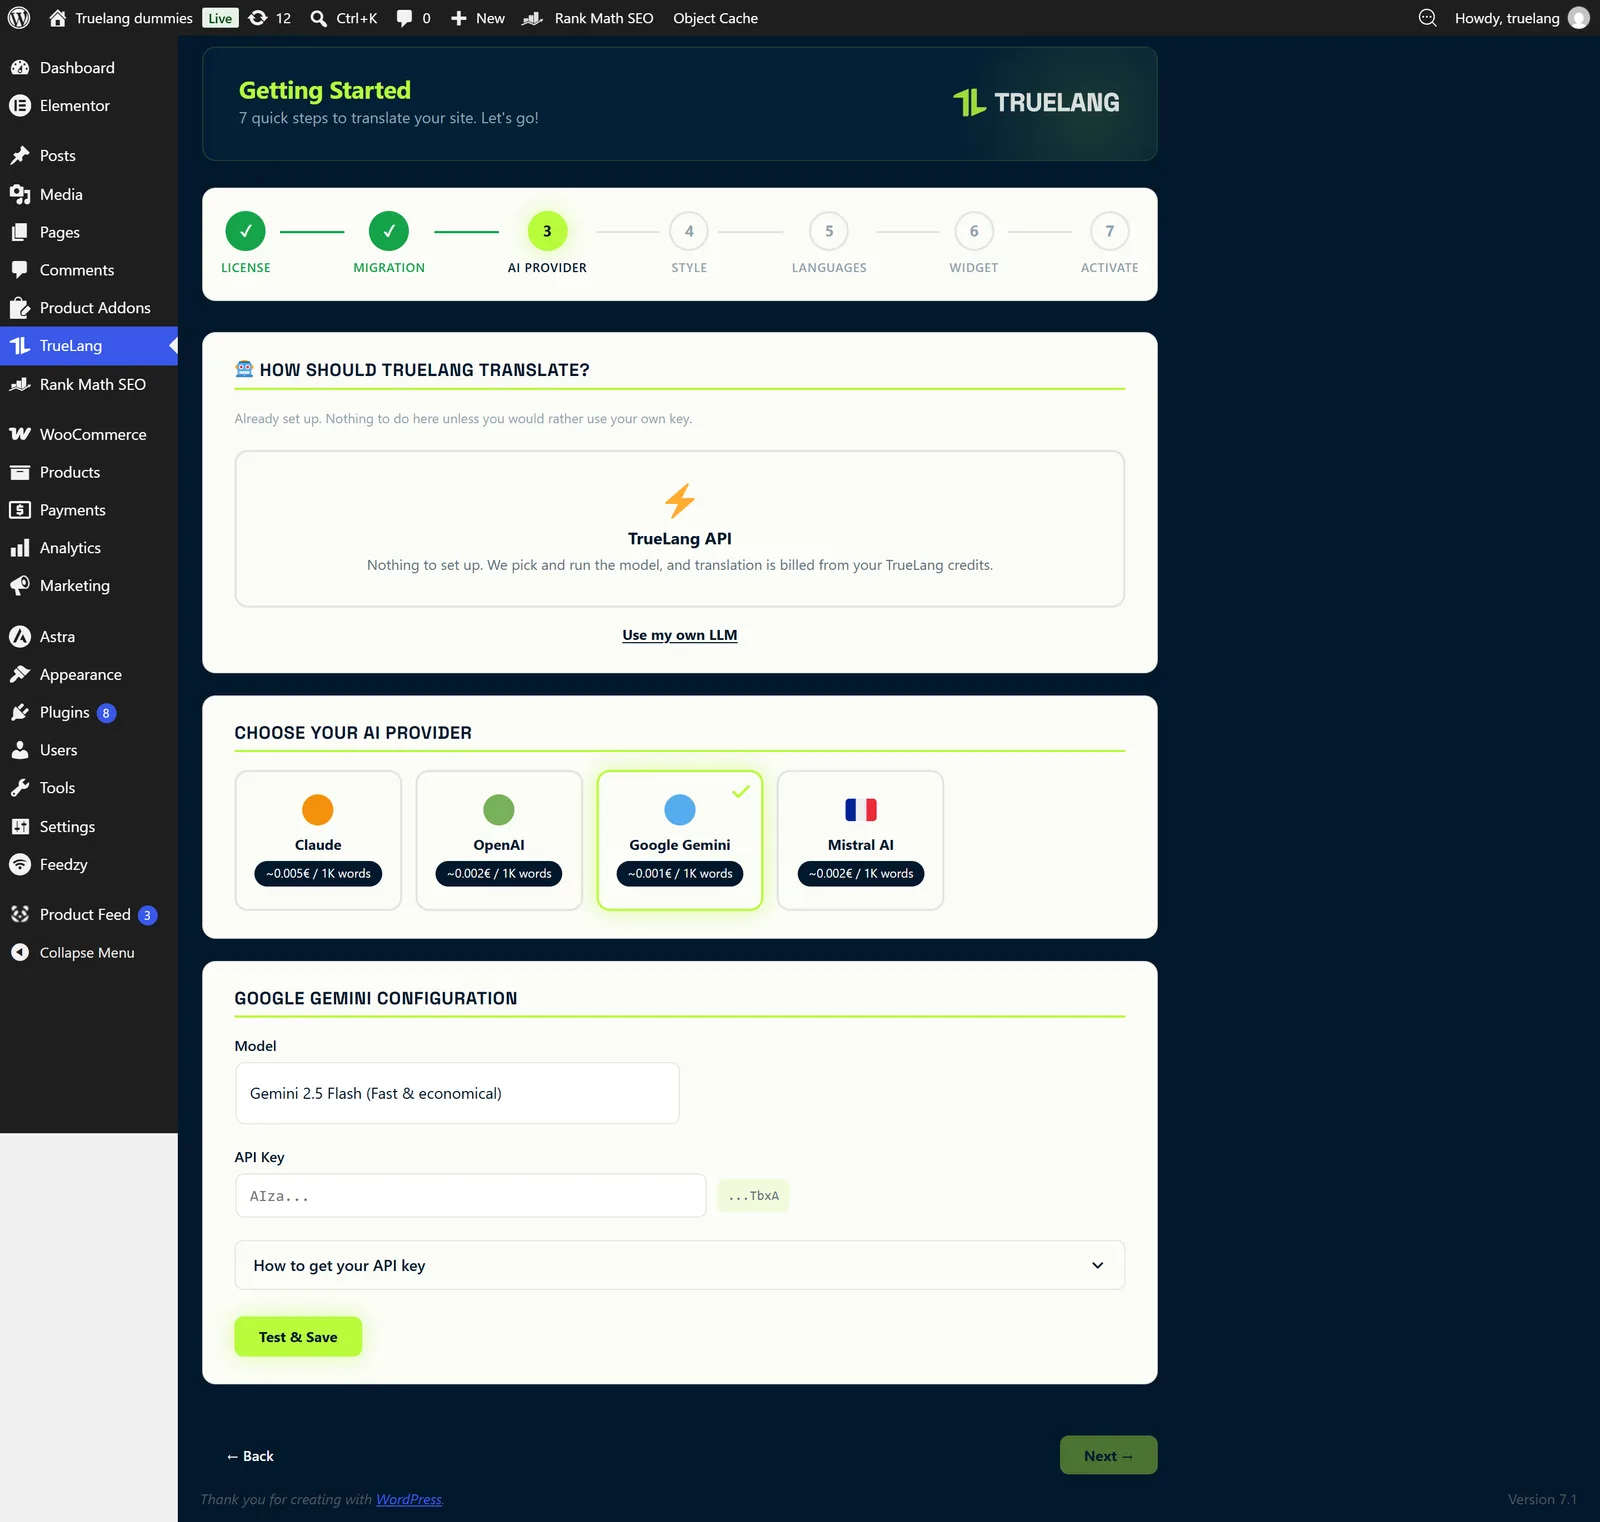
A step-by-step tutorial shows you where to get the key from your chosen provider, and a Test button verifies it before saving. You then pay for your translations directly with them: just a few cents for an entire site. Some require a minimum credit of five euros.
Step 4: neutral, or in your voice
Neutral: a faithful translation, adapted to the culture of each language, suitable for the vast majority of sites. Contextual: everything neutral mode does, plus your brand's tone.
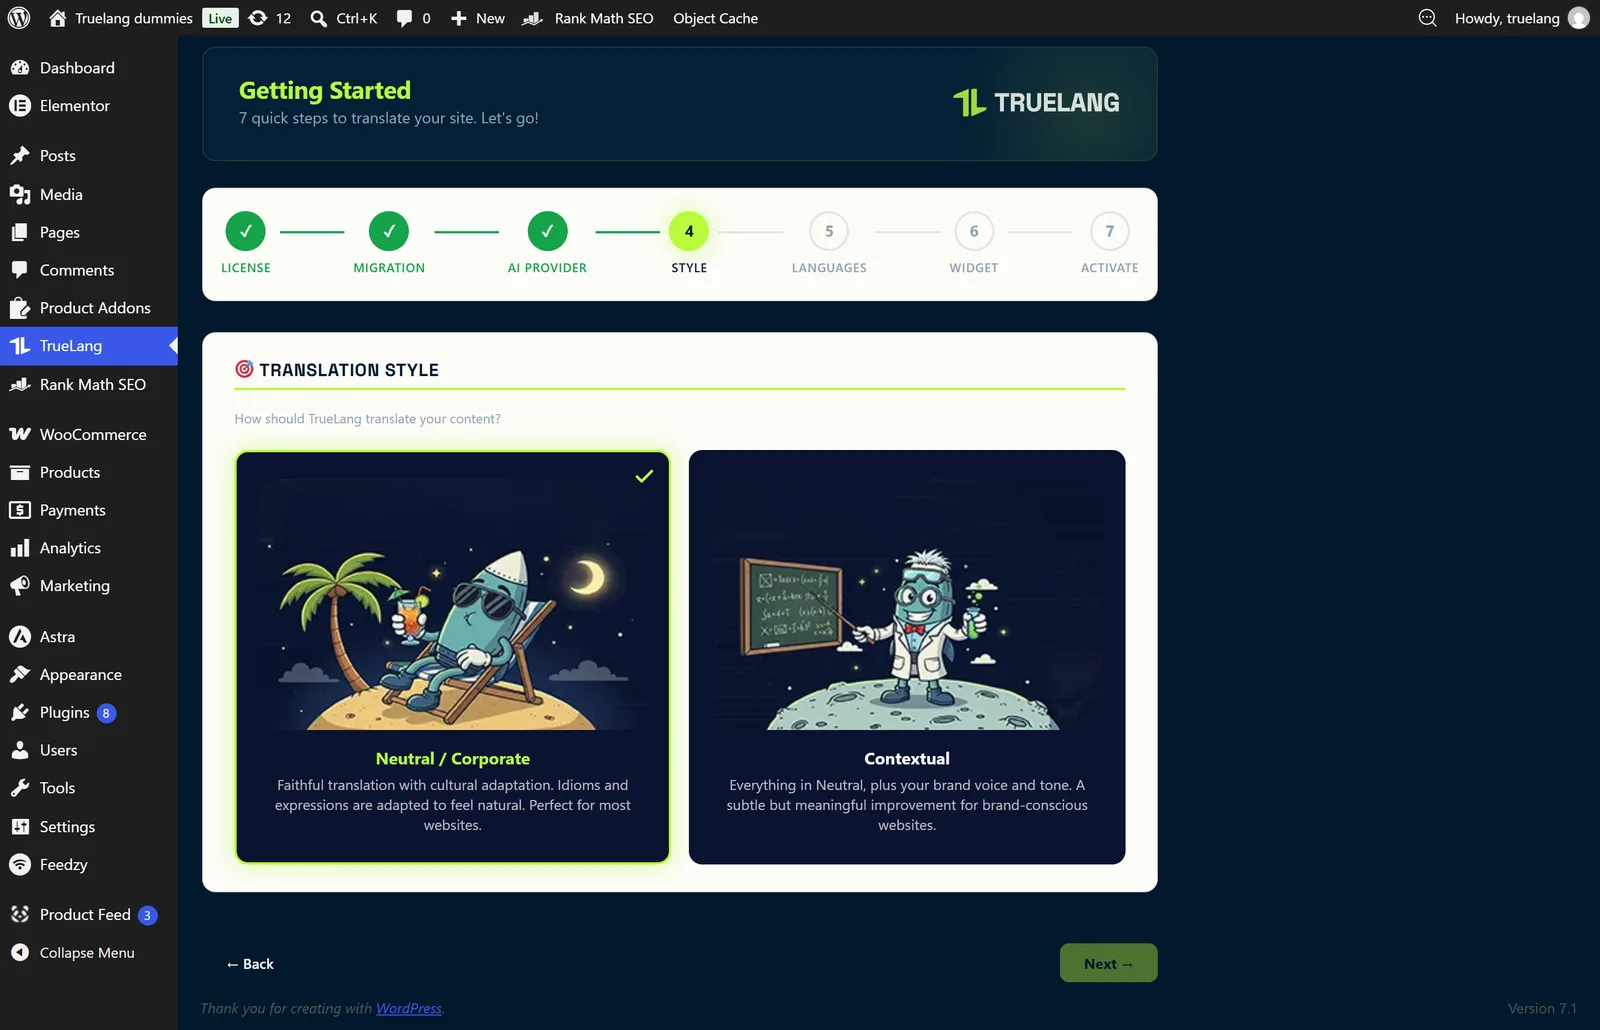
What contextual mode asks you for
Your brand name, two or three sentences about what you do and for whom, and a tone from formal, relaxed, friendly, professional, or creative.
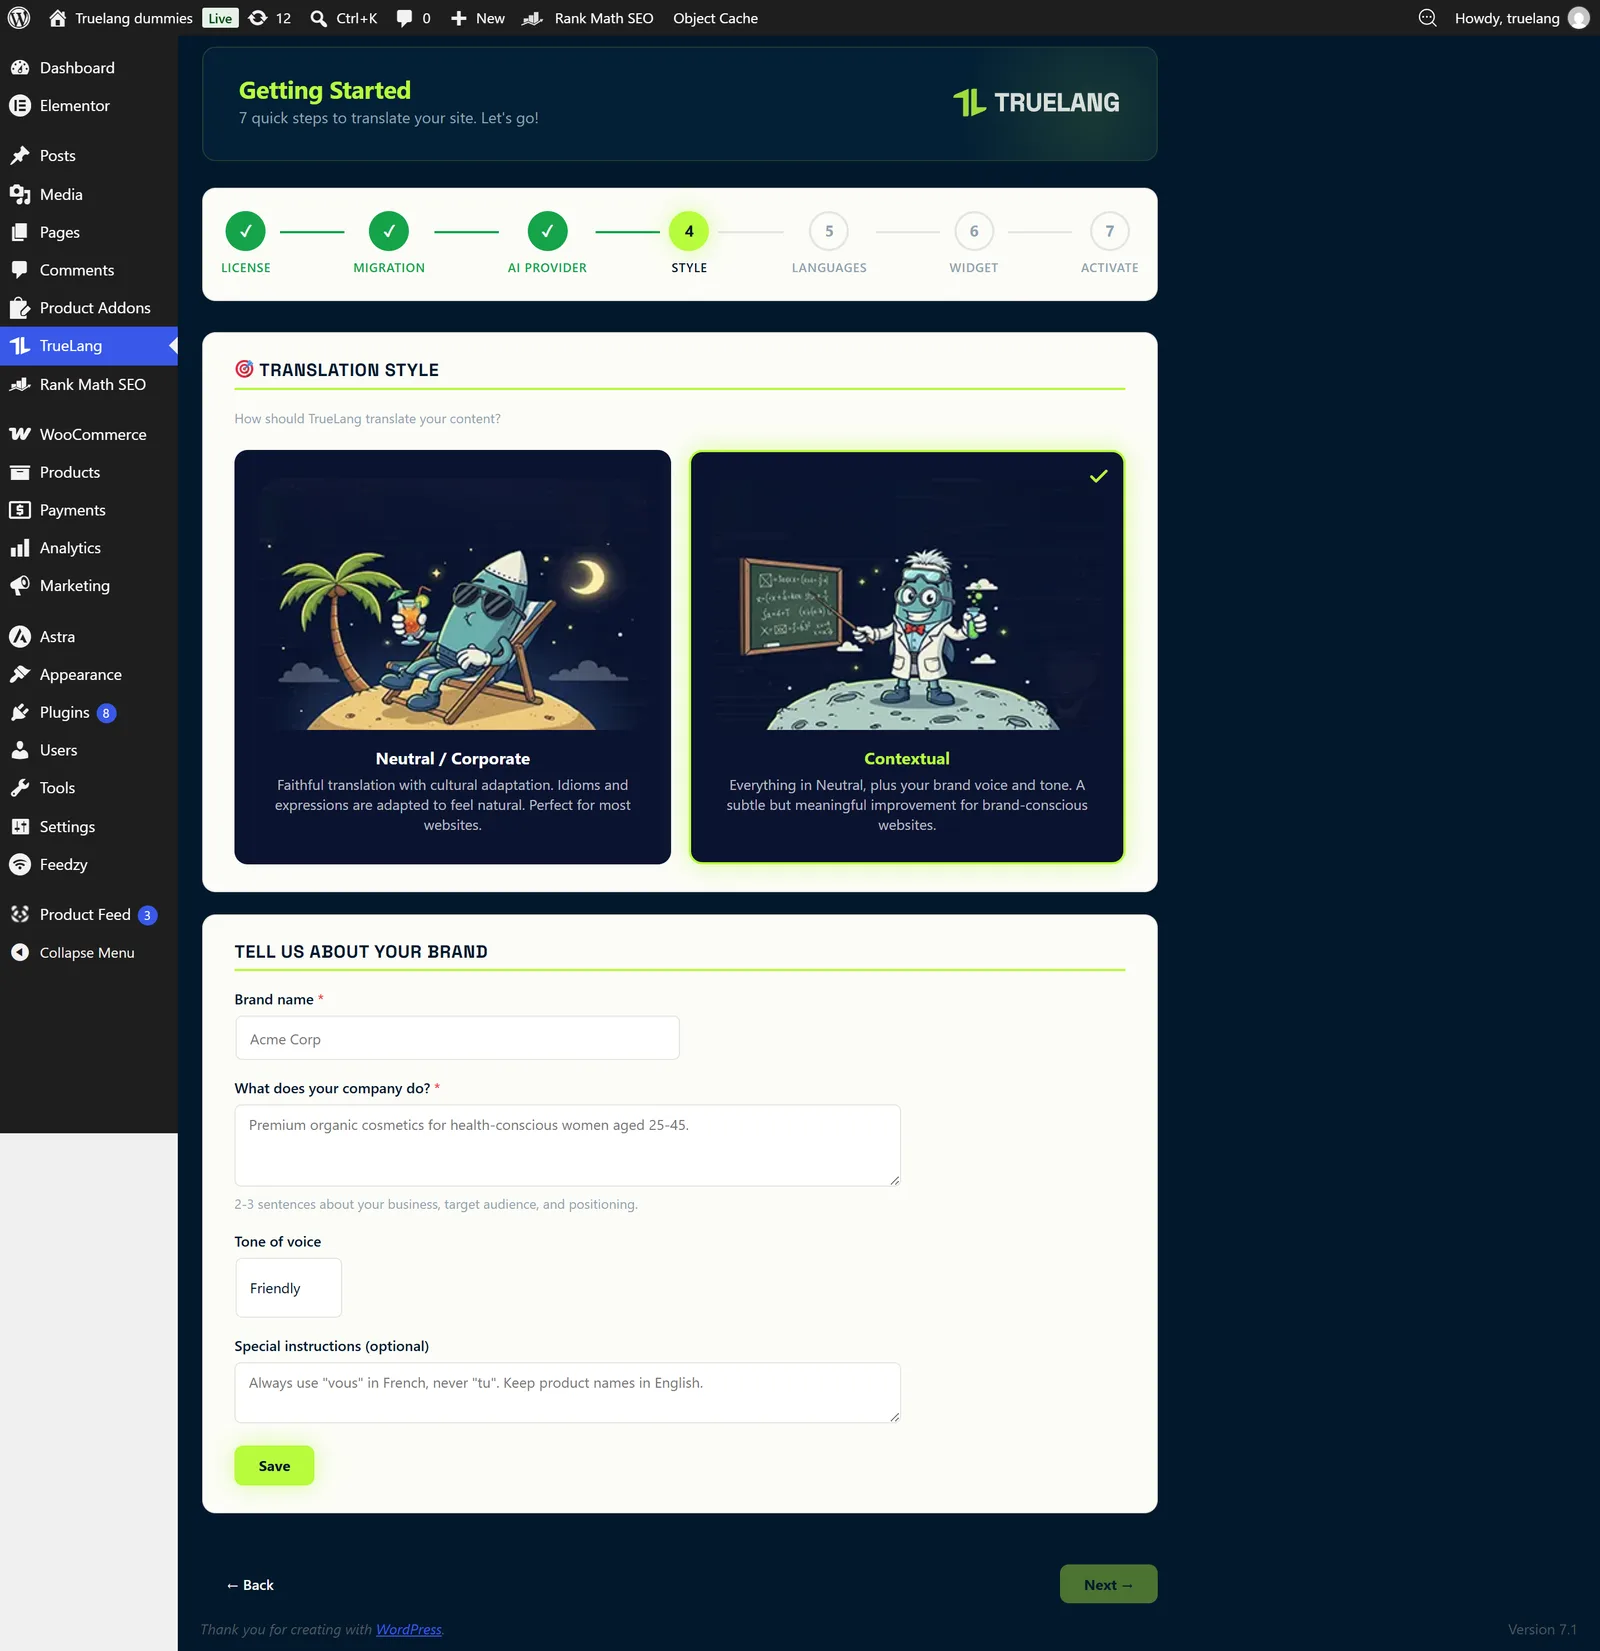
A free instructions field lets you enforce your rules: use formal address in French, keep product names in English, and so on.
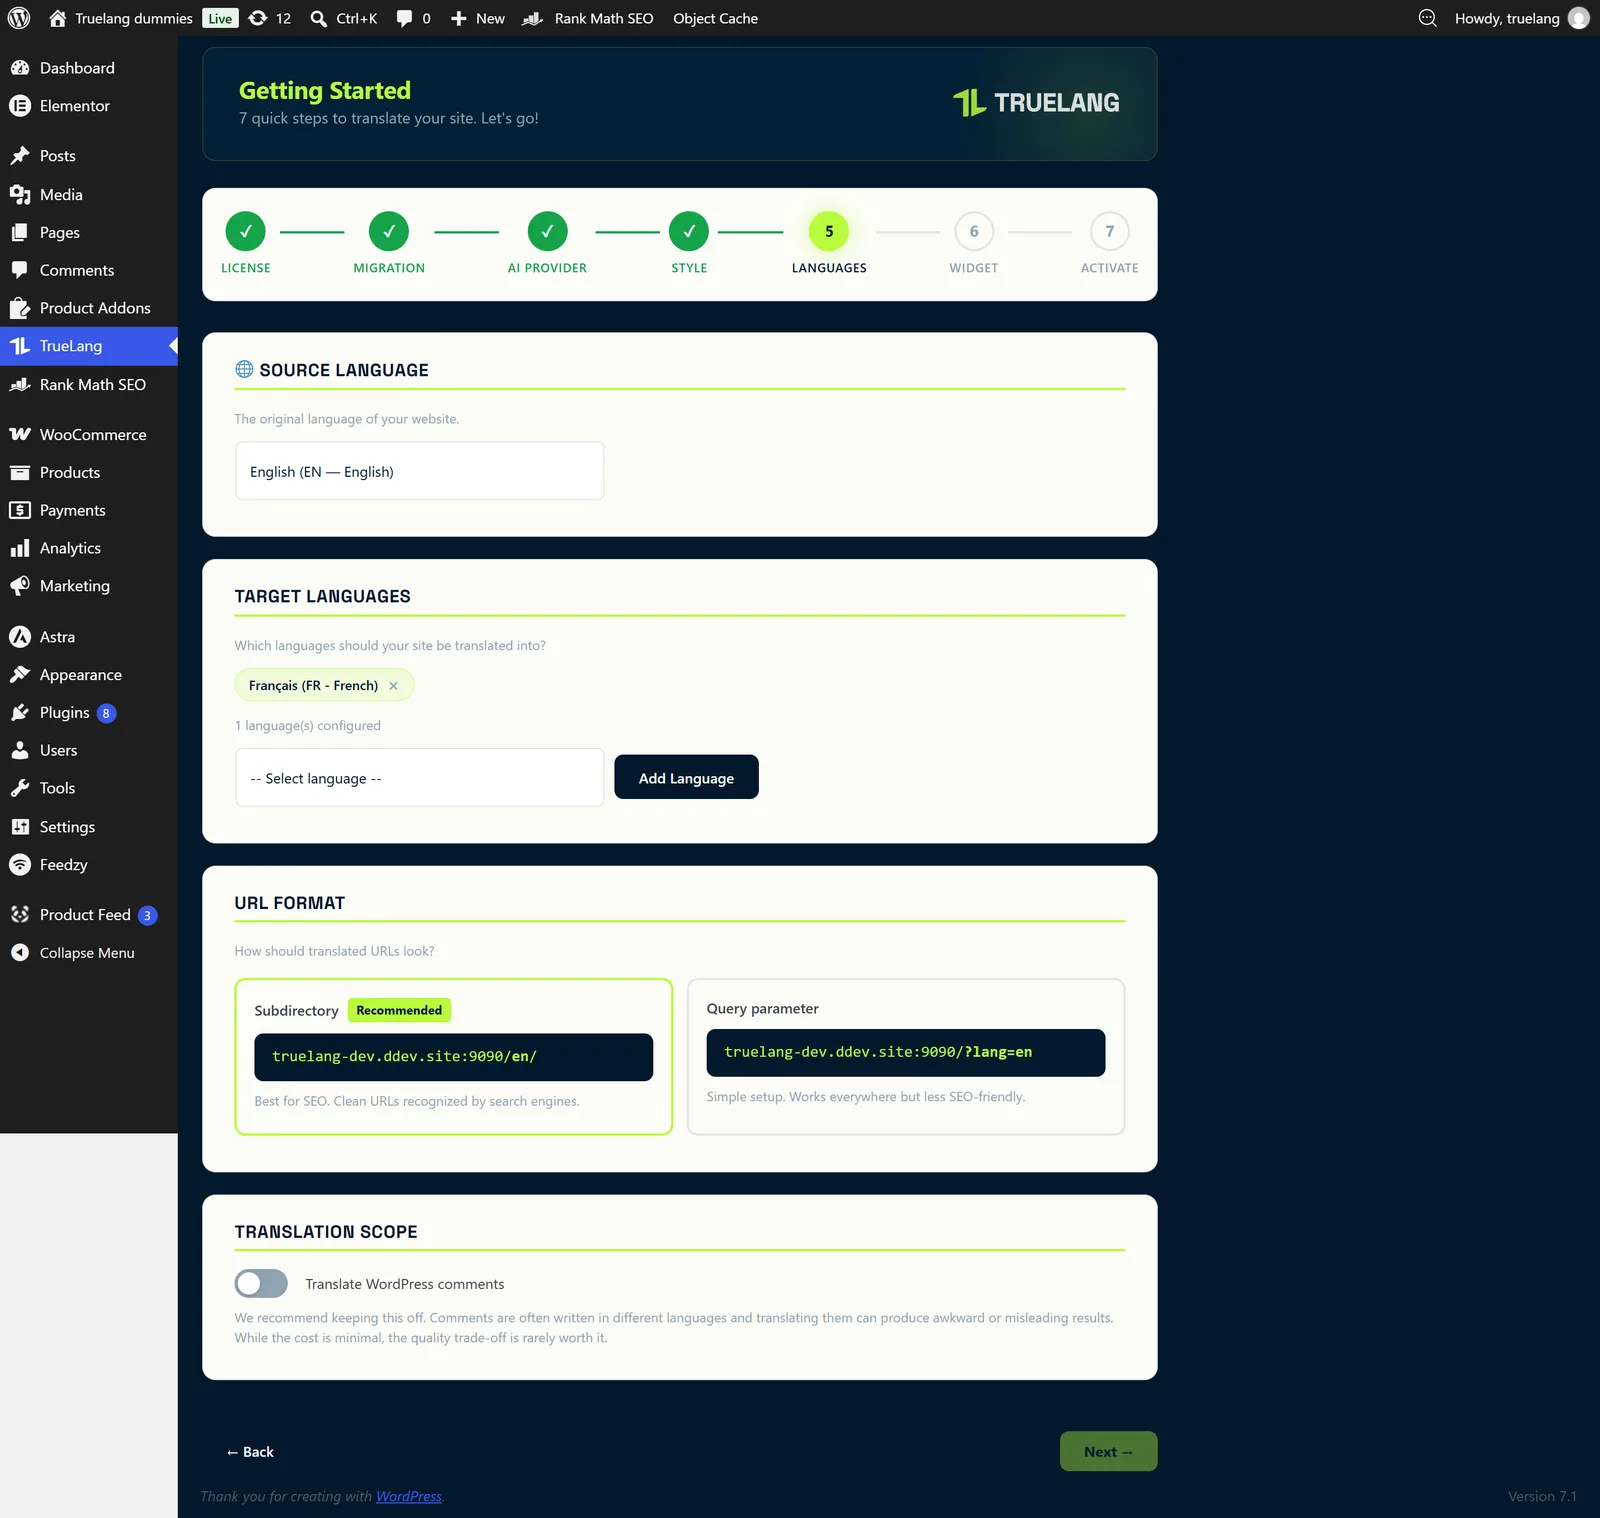
Step 5: your languages
You indicate the site's source language, then you add your target languages. About seventy are available.
It's also here that you decide the format of your translated URLs, and choose whether or not to translate WordPress comments. We recommend leaving them alone: they're often written in multiple languages and the result is rarely good.
You only pay for translation once. Everything is then stored on your server: each visitor sees the translated page instantly, without calling the AI.
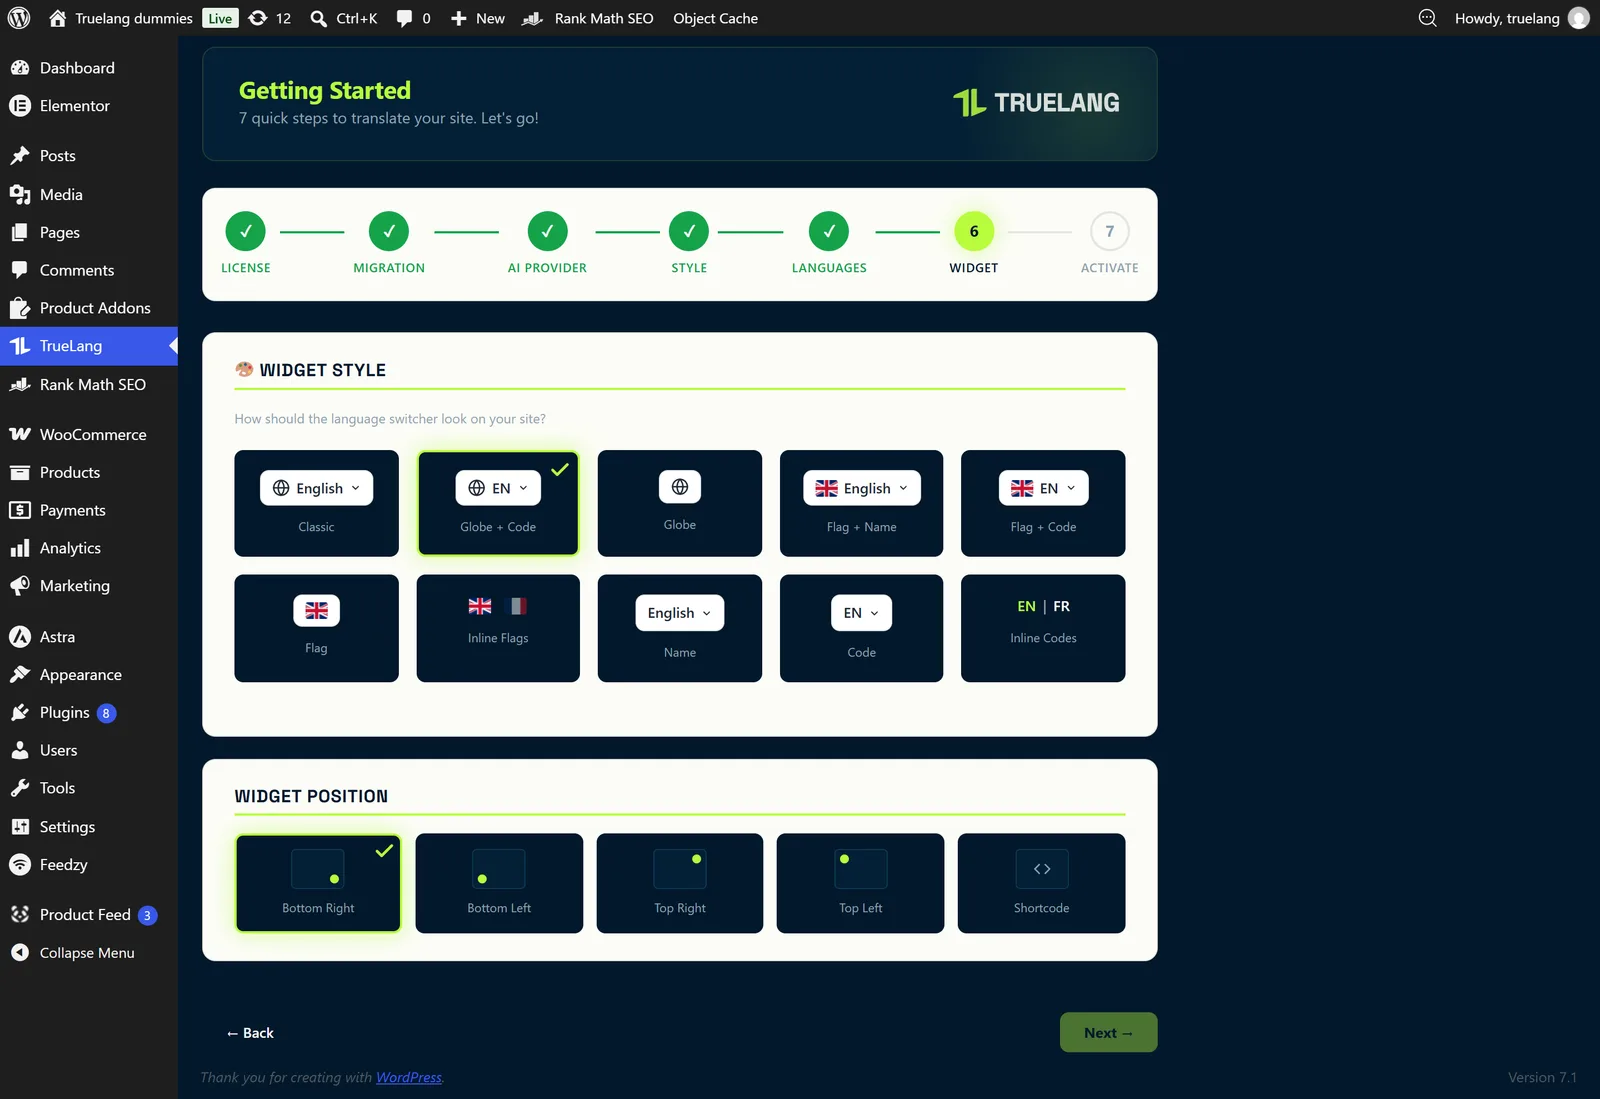
Step 6: the language selector
Ten display styles, with or without flags: the language name, its code, a globe, a flag alone, or all languages in a line.
Five locations: the four corners of the screen, or the [truelang] shortcode to place wherever you like in your page builder. Everything remains editable later.
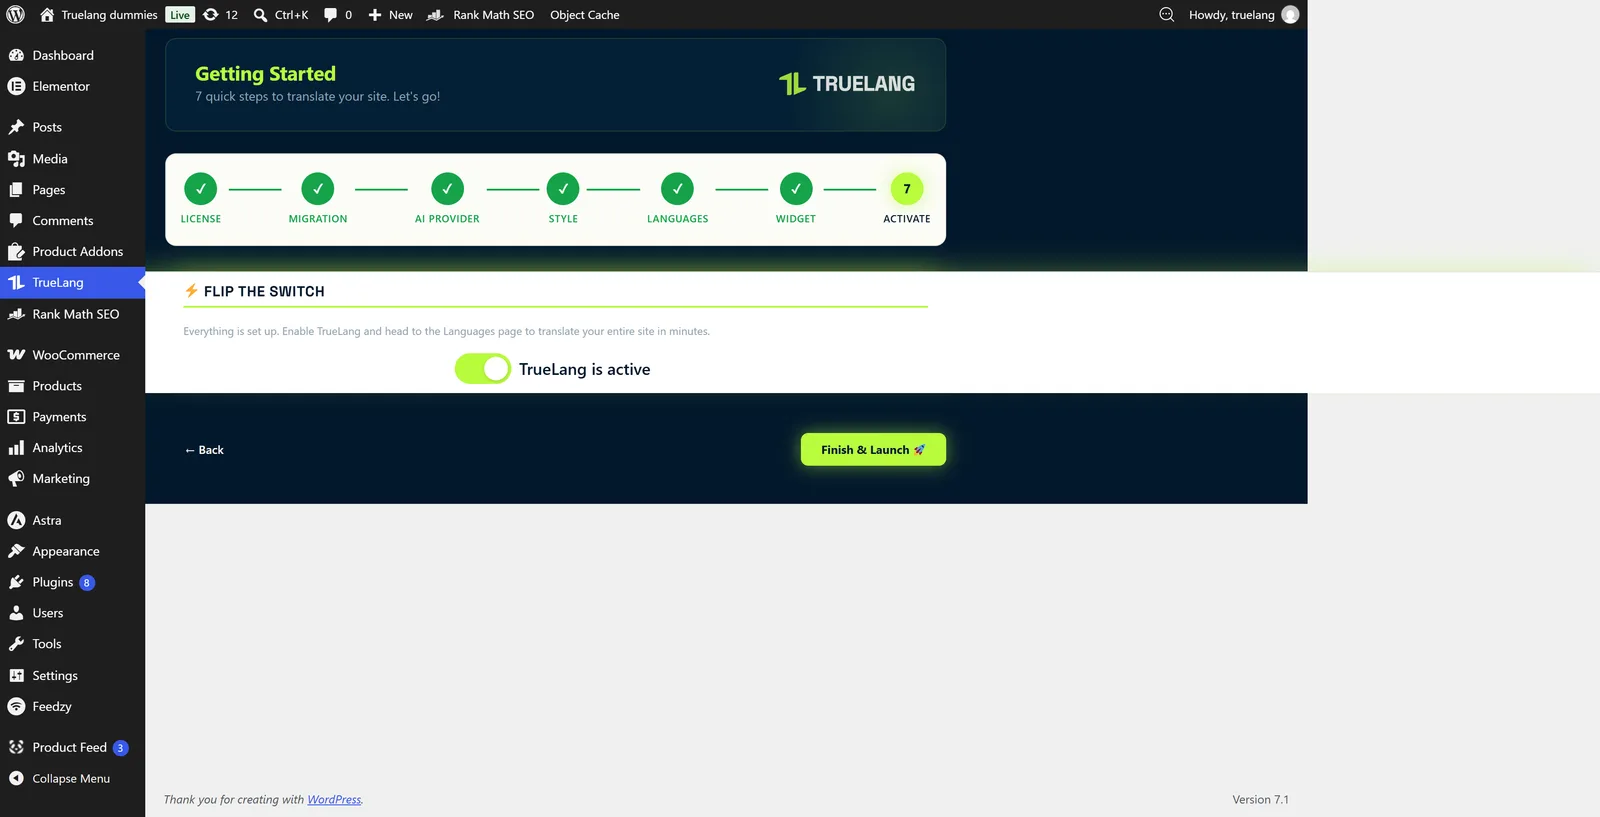
Step 7: you flip the switch
You activate TrueLang. The assistant disappears, the full menu takes its place, and your site awaits its first translation.